Real Estate Video Marketing: A Simple Guide
The current scenario in the real estate market is full of fast-paced buyers. With the ever-changing technology and the world becoming more digital-centric, real estate video marketing has become a necessity.
For businesses trying to penetrate the market, real estate video production and optimization are a must. That’s why we bring you this guide to understand what is real estate video marketing, the best types of real estate videos, and how to create a real estate video by yourself.

What is real estate video marketing?
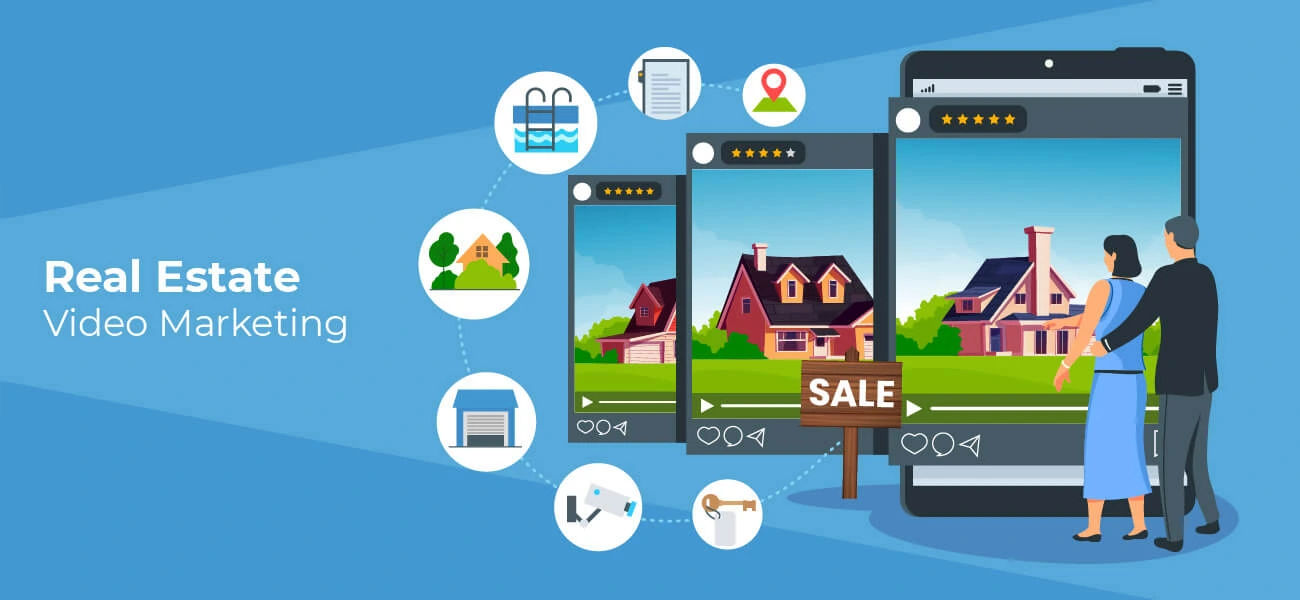
Real estate video marketing is the strategy of marketing real estate properties through videos, which can either be in the form of social media videos, virtual tours, client testimonial videos, or even video ads. It works by attracting and engaging potential clients and can be a tremendous asset to boost sales.
Using videos for real estate marketing can hit all the levels of the sales funnel. It can increase search results as well as page views at the top of the funnel. At the middle and bottom, it can create the final push for a buyer to take an action by calling or emailing the real estate agent or property owner. Now, let’s discuss the different types of videos that can be used for marketing purposes.
Types of real estate video you can use for marketing
There are various types of real estate videos that can help you increase sales. Some of the most important ones are discussed below.
-
Listing videos

Listing videos are the popular type of real estate video. They can provide an immersive and engaging virtual viewing experience to your buyers. Try showcasing the visual appeal of your property, unique interior features, the charm of the neighborhood, etc. with the real estate listing videos.
-
Explainer Videos

You can create real estate explainer videos sharing market insights, answering FAQs, or offering tips for first-time buyers. It will help in establishing credibility.
-
Agent Videos

Agent profile or introduction videos will help you create the first best impression on your audience. Try to creatively present the style and personality of the real estate agents to connect with potential clients.
-
Testimonial Videos

Companies creating testimonial videos featuring past clients are excellent for real estate video marketing as they can help in building trust and credibility. Try including stats and awards, texts to call out highlights, and also your contact details.
-
Email Videos

Choose any of the video types we mentioned earlier and take short snippets from them. Combine them, create a GIF, and then embed them into your emails. These can be used for email marketing purposes.
-
Real Estate Tips Videos
Tips videos suggest specific tactics to perform a task flawlessly. A real estate tips video could be about how to take perfect property photos, which is the best real estate photo editing software for beginners, to finding the best outsourcing partner for real estate photo editing.
You can also ask your real estate videographer to create any type of video discussed above. However, if you’re interested in creating one, then let’s discuss how to create the most popular type of real estate video.
How to create a real estate video that actually sells?
Here’s a complete breakdown of the equipment you’ll be needing and how you can create real estate videos that can sell your properties in no time.
Gear you’ll need
For creating a real estate video, you’ll need a few things first. They are
- DSLR camera
- Wide-angle zoom lens (16–35mm / 17–40mm)
- Tripod with a slider
- Another tripod head that will be placed on the top of the slider
- Drone (not compulsory)
In case you’re wondering about the lights, you may not need them. Natural light can do wonders for both interior and exterior shots. However, if you find the interior to be a bit gloomy without the light, you may use them. If the exterior seems gloomy, it is better to reschedule. Plan your shoots when the weather is a bit cloudy.
-
Tidy it up
Take a walk around the property and look for things that catch your attention the most. Your job is to hide distractions and highlight the attractive elements. Also, you need to ensure that the property looks neat. So, keep the counters and tabletops decluttered, shut the closet doors, close toilet seats, hide the pets, smooth out the wrinkles on bedspreads, adjust the pillows on the couch, etc.
-
Plan the shots
Take 2-3 shots for each bathroom or bedroom in the house. As for the living room, master suite, and kitchen, take enough shots with different camera angles to paint a full picture of the entire interior for the viewers.
For the exterior, you don’t need to take as many shots as the interior. You can take around 10-15 shots depending on the property. It should include the back and front of the house, close snaps of the door front, unique shots of different parts of the yard, or any other detailed shot you like.
-
Shoot the video
By using slides and gliders, you can introduce motion into the still environment of the real estate videos. With slides, you can take the shot of an entire room while making those wide shots interesting. A tip is to position the slider just outside a room. You can also create a wrap-around effect by sliding and panning.
Now, using the glides, move the camera from front to back. This is when the second tripod head will be useful. But there’s another thing you need to take care of, i.e., don’t include the slider into the shot.
In case you don’t have the slider in the first place, panning will just work out fine. Slow pans and tilts will help you to add motion to the static shots. These are also great for taking detailed shots of hardwood floors, countertops, and tiles.
Finally, be careful of the camera settings. To create focus in the room, keep the aperture number at f 4 or 5.6. To balance the brightness, adjust the shutter speed and ISO.
Having a drone is an added advantage as you can get aerial shots of the property and surrounding community. Use the drone as a slider. Go from left to right and slowly towards the house from the street. Take a few shots at the back and front of the house. Now, take the bird’s eye view of the property.
-
Edit the footage
The last part of producing real estate videos is editing. Arrange the clips in the order in which you’ll walk through the property. Avoid being repetitive and use an appropriate mix of glides and slides to show the rooms. You can add background music to make the video look more polished.
If you think a few parts of the footage may require high-level editing, you can outsource video post-production services. By outsourcing, you’ll get expert real estate video editors to work on your project who can assure top-quality results.
So, that was all you need to know about real estate video marketing and editing real estate videos. You can also hire a video production company to create videos for you. They can help with the production of footage from start to finish. But, do remember that it can be expensive.
On the other hand, if you create the video yourself and then hire a video editing company, the overall expenses will be less.


